Creating a Human vs AI Auto Blogger - Part 1 - Setting up Notion to Create a Blog in Next Js

Setting up Notion to Create a Blog in Next Js
** Need an understanding using VScode and opening a terminal to a new project **
Part 1 - Notion to Next JS Markdown
Part 1 was done using Kodaps tutorial and using his npm package @kodaps/notion-parse. I encourage you to watch his video alongside this first part.
Firstly you want to make a new project in Next Js, open a terminal and type:
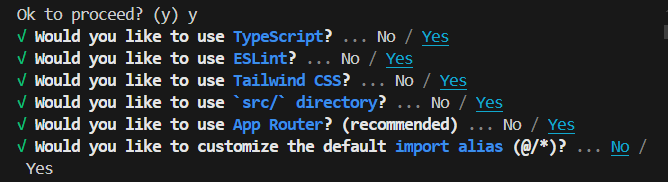
npx create-next-app@latest .Then follow the steps to create your Next Js app.
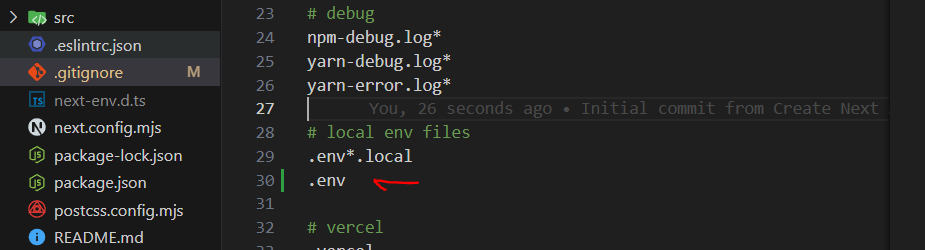
Next, first thing I do in a new project is go to .gitignore and add “.env” to it. This allows us to push our code to Github, which we will need for deployed later, and we dont want it our local .env secrets.
Next In the root of your project
Next we will add content layer to convert markdown, it allows use to use mdx files or markdown in our code.
npm i contentlayer next-contentlayerContentlayer is only updated to Next13 and you’ll see this error
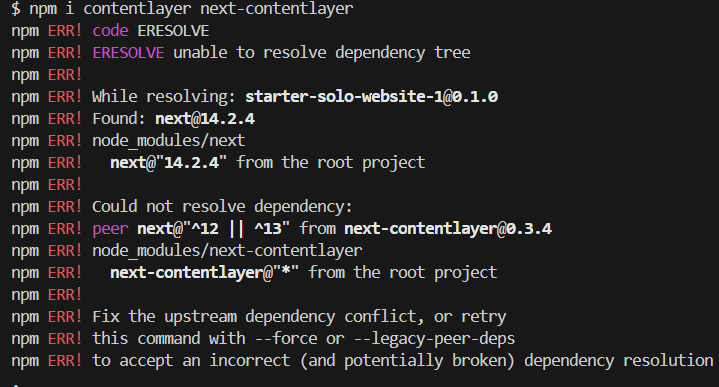
Contentlayer doesnt seem to have any breaking changes in Next 14 so we will force install
npm i contentlayer next-contentlayer --forceAs Kotaps points out, to get Contentlayer updates, we will need an override in your package.json
	"overrides": {
	    "next-contentlayer": { "next": "$next"}
	}
Let’s get our packages to take Notion documents and parse them to markdown and dotenv for env files.
npm i @kodaps/notion-parse dotenv -DNow that it is installed, let’s make a folder for our content in the src directory
Make a contentlayer.config.ts file in our root directory and define the types needed for contentlayer as well where we’ll add a folder within src/content/ called posts
	import { defineDocumentType, defineNestedType, makeSource } from 'contentlayer/source-files'

	const Image = defineNestedType(() => ({
	  name: 'Image',
	  fields: {
	    width: { type: 'number', required: true },
	    height: { type: 'number', required: true },
	    src: { type: 'string', required: true },
	  },
	}))

	export const Posts = defineDocumentType(() => ({
	  name: 'Posts',
	  filePathPattern: `posts/**/*.md`,
	  fields: {
	    title: { type: 'string', required: true },
	    date: { type: 'date', required: true },
			slug: { type: 'string', required: true },
	    notionId: { type: 'string', required: false },
		  tags: {type: 'list', of: {type: 'string'}},
		  image: {type: 'nested', of: Image, required: true },
	  }
	}))

	export default makeSource({
	  contentDirPath: 'src/content',
	  documentTypes: [ Posts]
	});
Next lets change next.config.mjs file to next.config.js and add next-contentlayer
	const { withContentlayer } = require('next-contentlayer')

	/** @type {import('next').NextConfig} */
	const nextConfig = {}

	module.exports = withContentlayer(nextConfig);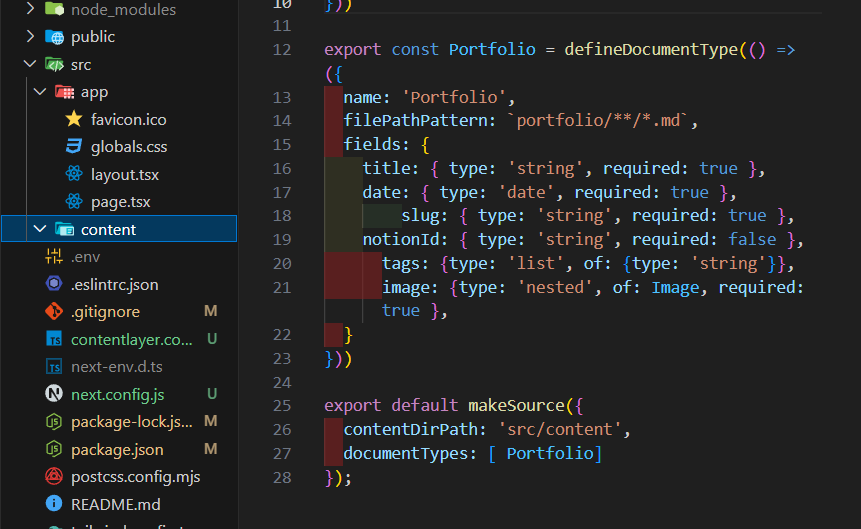
Head to tsconfig.json file, add a base url and generated paths for Contentlayer.
"contentlayer/generated": ["./.contentlayer/generated"]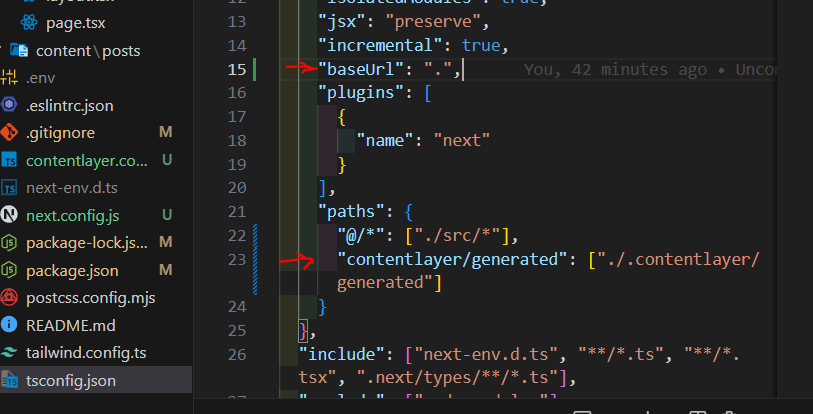
Setting Up Notion
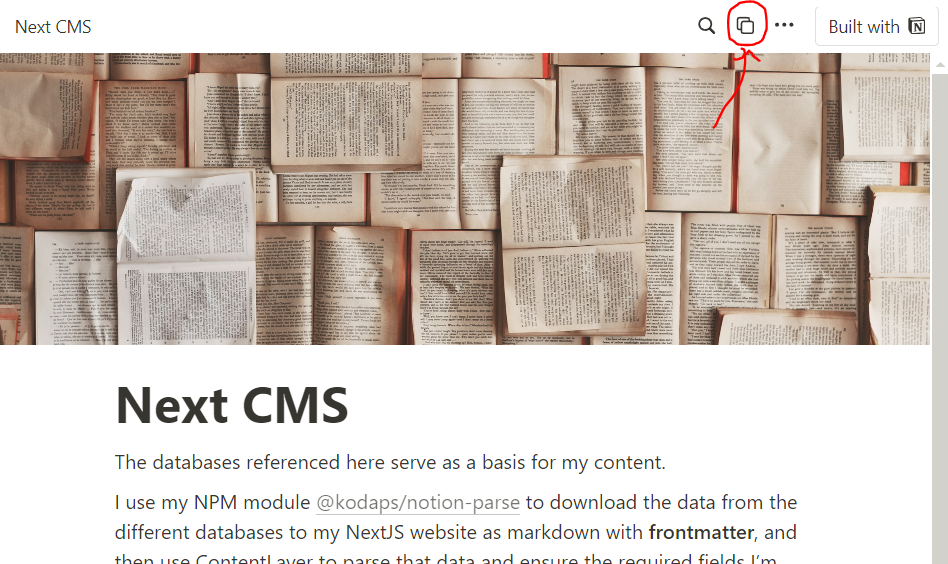
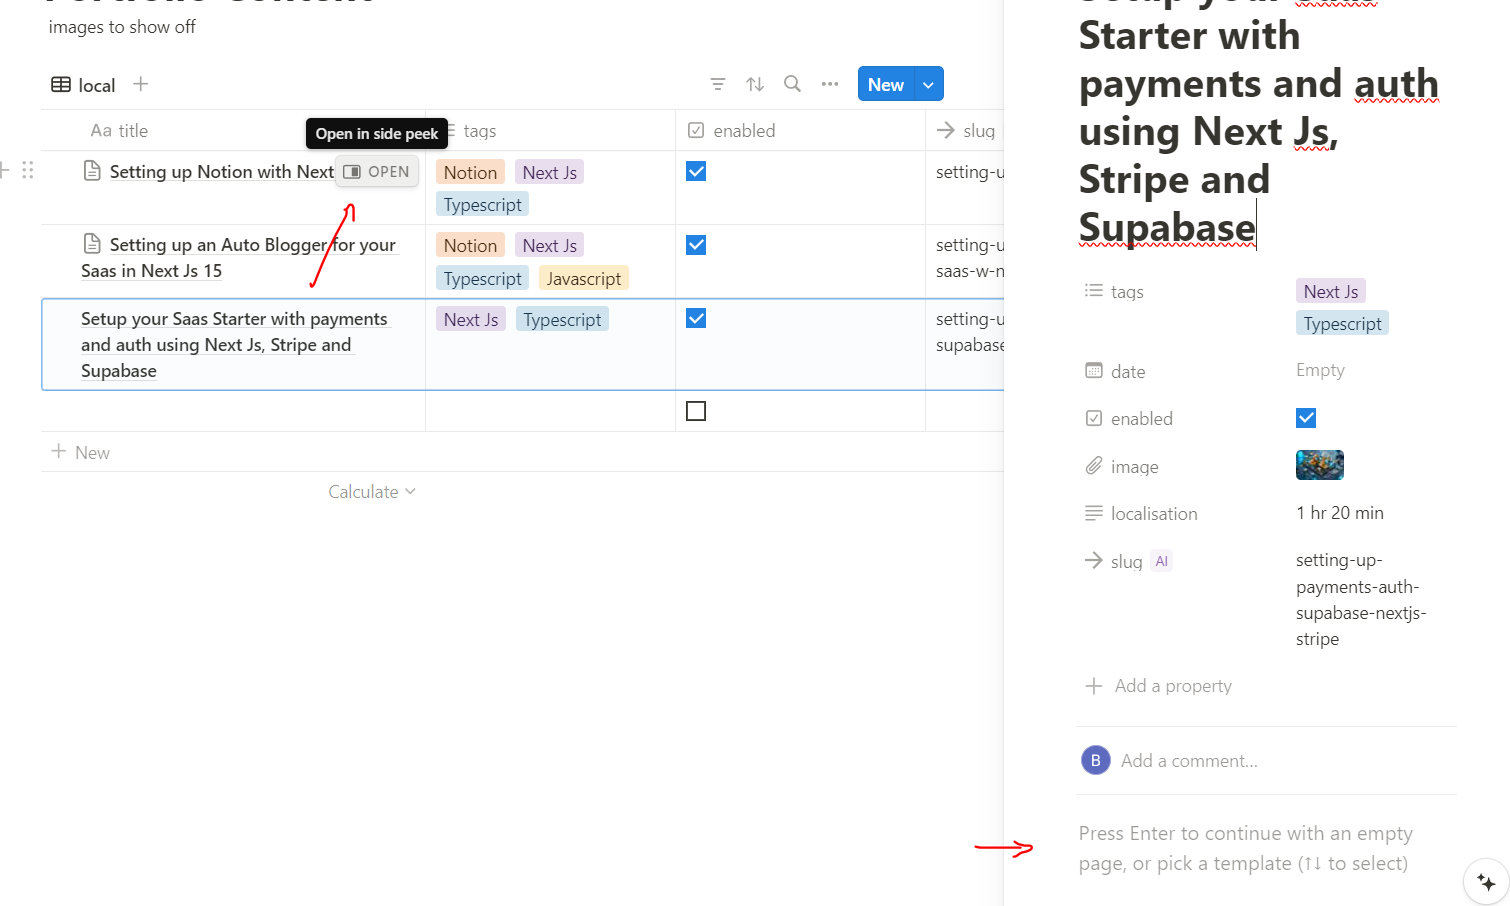
Lets set up Notion to pass our blog posts to Contentlayer! If you aren’t familiar with Notion, it’s free for single use and I’d say it tries to be Google sheets/docs + Airtable database in one. Register an account and either create your own database or follow Kodaps’s link here to a premade template and click duplicate at the top.
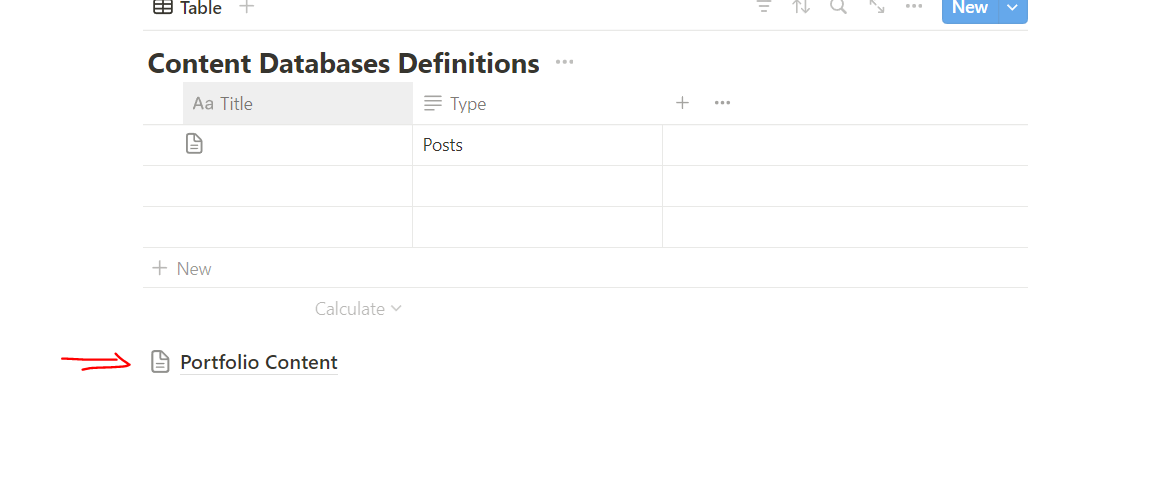
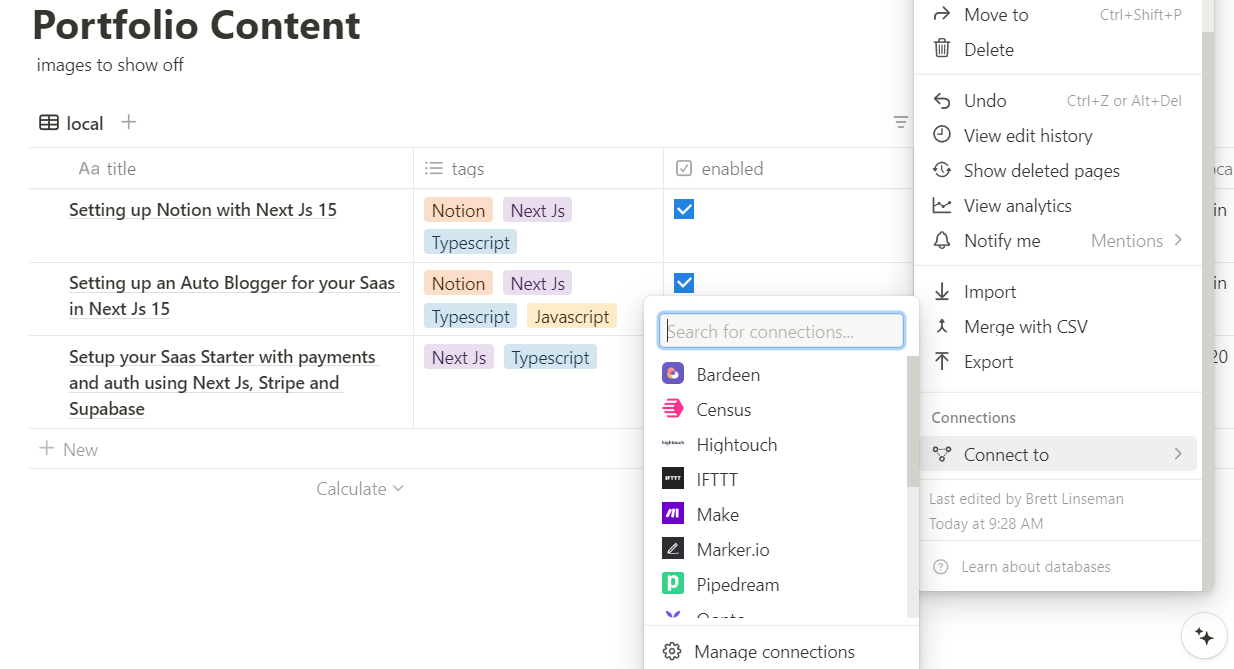
Click on the button at the bottom called Portfolio Content and fill in the database fields with your posts.
Make sure there are no empty rows, and required fields are filled. Then click the three dots in the top right and scroll down to “connect to” and ‘manage connections’
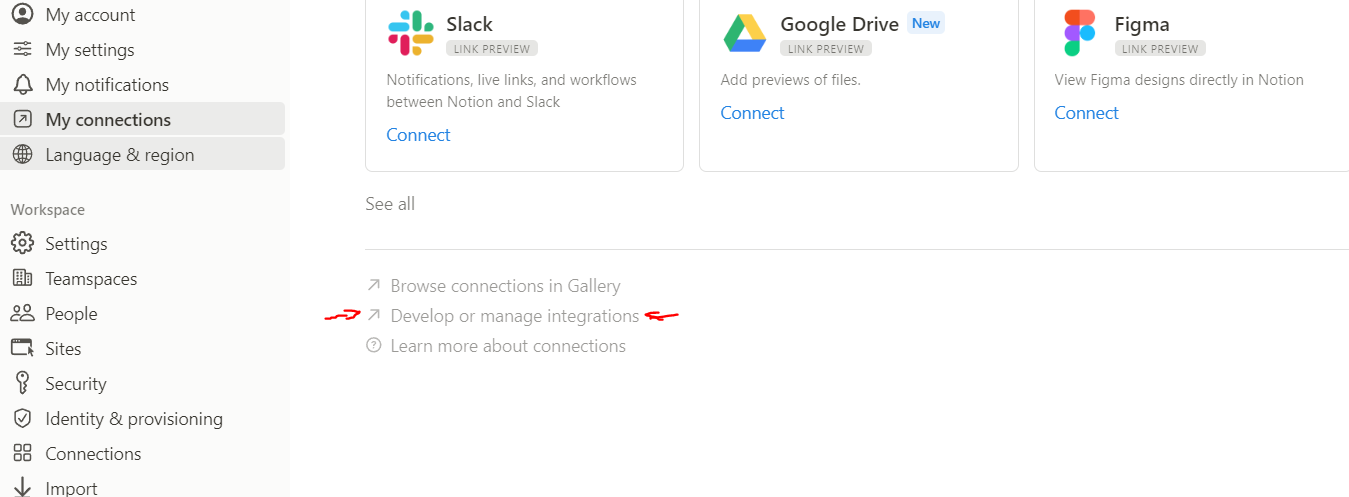
Then ”develop or manage integrations”
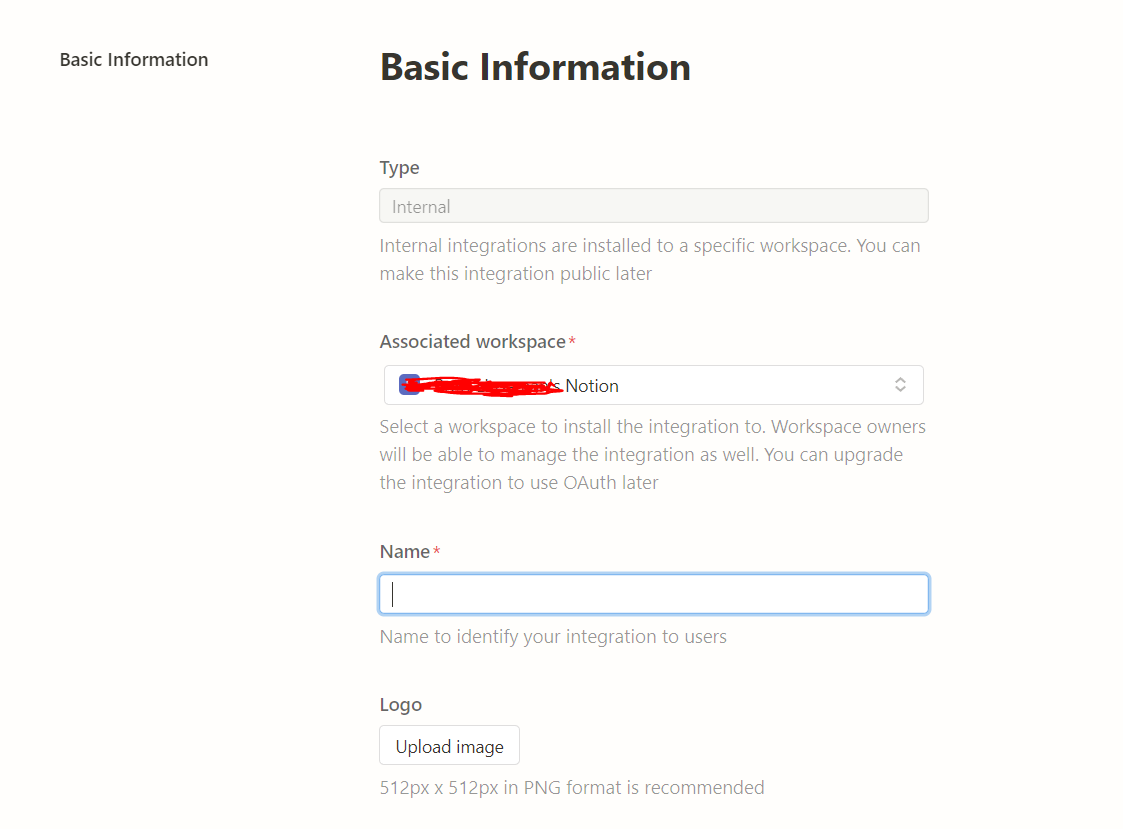
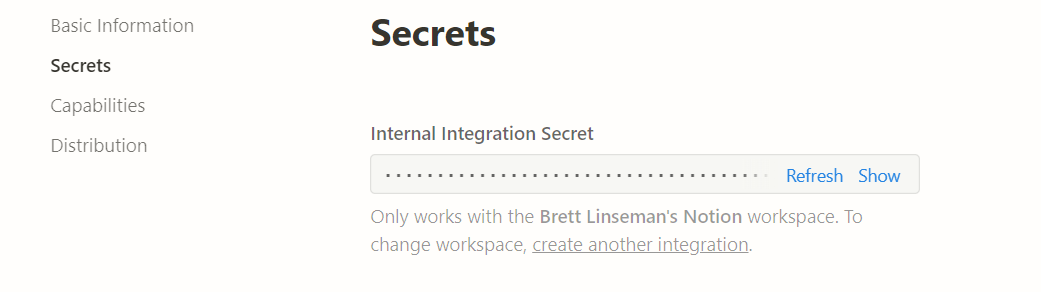
Create new integration, keep internal and fill in other fields, then submit.
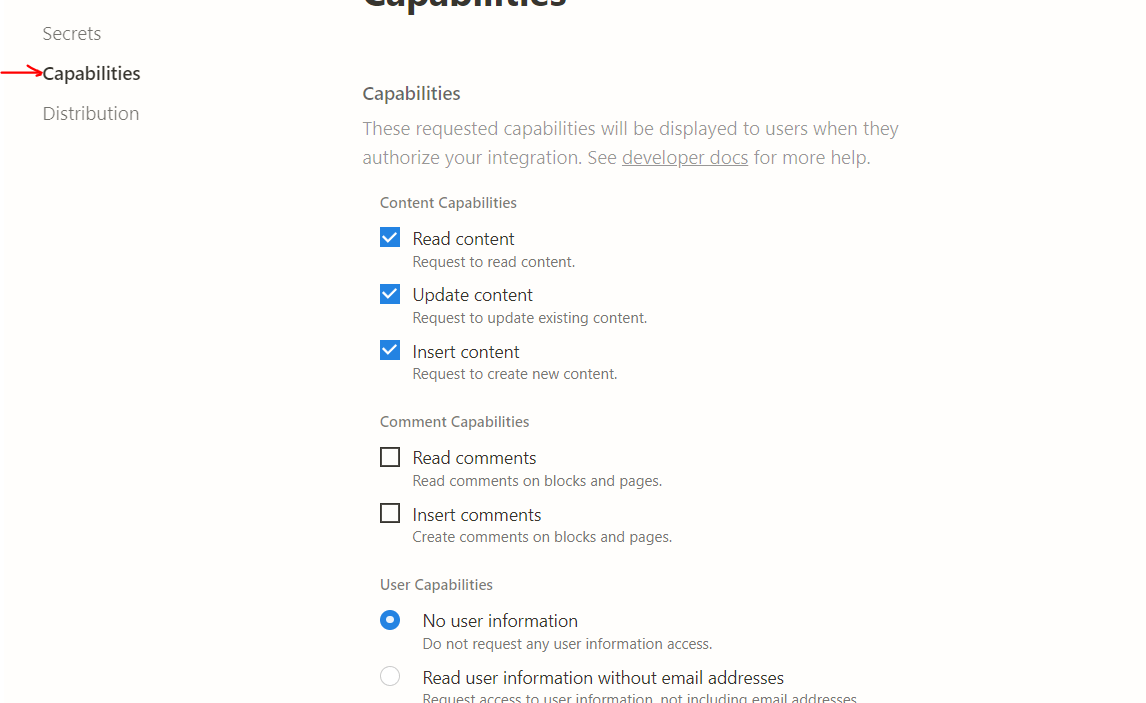
Make sure you have proper read and write in capabilities
Copy the API secret and store it in your .env file as:
	//.env
	NOTION_TOKEN=
	NOTION_PORTFOLIO_DATABASE_ID=
Now, open connections again in the three dot menu
Find and connect to your integration you created by storing the API key
Again open three dot menu and click ‘copy link’. Extract the ID from the link and store it in NOTION_PORTFOLIO_DATABASE_ID in your env file:
link: "https://www.notion.so/[NOTION_PORTFOLIO_DATABASE_ID]?v=*********************&pvs=4"If it looks like the following, then you need to go to your database page and copy the link again.
link: "https://www.notion.so/Portfolio-[**************]?pvs=4Now time to wire up Notion in Nextjs, let’s create a scripts folder and a notion.js file.
	const NotionParse = require('@kodaps/notion-parse');
	const dotenv = require('dotenv');
	dotenv.config();

	const go = async () => {

		if (process.env.NOTION_SECRET) {
			await NotionParse.parseNotion(process.env.NOTION_TOKEN,
				'./src/content',
				[{
					databaseId: process.env.NOTION_PORTFOLIO_DATABASE_ID || '',
					contentType: 'Portfolio'
				},/*
				{
					databaseId: process.env.NOTION_POST_DATABASE_ID || '',
					contentType: 'Post',
					languageField: 'lang',
					filterFields: [ 'translation', 'createdAt', 'status']
				},*/
			])
		}

	};

	go().then(() => {
	console.log('Done');
	});
Finally let’s do some UI so our Notion pages look at least a little presentable
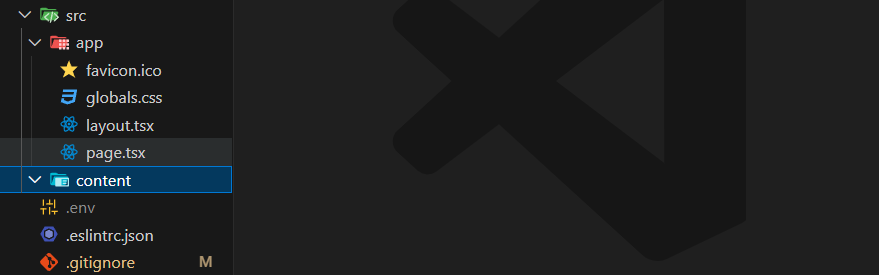
We will start by creating a folder structure similar to the following:
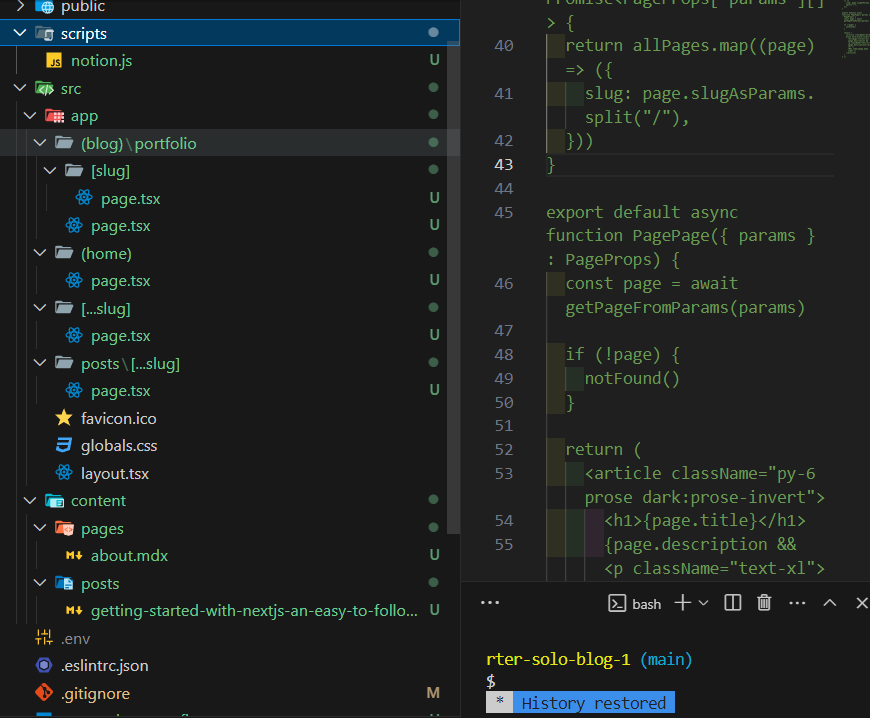
Notice how I removed app/page.tsx in app folder and placed it in app/(home)/page.tsx
Here it is for now, until Part 2 of this video where we add shadcn components:
	import Image from 'next/image'
	import Link from 'next/link'

	export default function Home() {
	  return (
	    <main>
	        <div className='mx-auto max-w-7xl text-center text-xl bg-clip-text bg-gradient-to-br from-slate-400 to-slate-800 font-black'>
	            <Link href="/portfolio">
	            Click Here for Blog
	            </Link>
	        </div>
	    </main>
	  )
	}
We will use Kotaps portfolio card for now to store the :
	// src/components/PortfolioCard.tsx

	import { Portfolio } from 'contentlayer/generated';
	import Image from 'next/image';
	import Link from 'next/link';

	interface PortfolioCardProps {
	 item: Portfolio
	}


	export const PortfolioCard:React.FC<PortfolioCardProps> = ({item}) => {

		return <Link href={"/portfolio/" +  item.slug }>
	    <div className="w-full relative overflow-hidden">
	      <div className='absolute bottom-0 p-5'>
	        {item.title}
	      </div>
	      <Image className={"aspect-square object-cover hover:scale-125 transition ease-in-out duration-300"} src={item.image.src} width={item.image.width} height={item.image.height} alt={item.title} />
	      </div>
	  </Link>;
	};
You will get errors for your contentlayer/generated import until you run contentlayer config using
npm run devIn app/(blog)/portfolio/page.tsx add the following code for UI. We will address the UI further in Part 2.
	import { PortfolioCard } from '@/components/PortfolioCard';
	import { allPortfolios } from 'contentlayer/generated';
	import Image from 'next/image';

	export default async function PortfolioIndex() {

	  const items = allPortfolios;

	  return <section className="mx-auto max-w-3xl">
	        <h1 className="text-center text-4xl font-bold py-5">Portfolio Index</h1>
	      <div className="p-4 md:p-0 grid grid-cols-3 gap-4 w-full h-[500px]">
	        {items.map((item, index) => <PortfolioCard key={index} item={item} />)}
	      </div>
	    </section>;
	}
For the last page.tsx in this part, head to app/(blog)/portfolio/[slug]/page.tsx and add:
	import { notFound } from 'next/navigation'

	import { allPortfolios } from "contentlayer/generated";
	import Image from 'next/image';
	import Link from 'next/link';


	interface Params {
	  params : {
	    slug: string,
	  }
	}


	const Page:React.FC<Params> = ({params: {slug}}) => {

	  const item = allPortfolios.find((item) => item.slug === slug);

	  if (!item) {
	    notFound();
	  }

	  return <div className="mx-auto max-w-3xl p-8 h-full">
	    <h1 className="font-bold text-3xl py-3">{item?.title}</h1>
	    <div className="grid grid-cols-1 grid-row-2">
	      <Image src={item?.image.src} width={item?.image.width} height={item?.image.height} alt={item?.title} className='rounded-t-xl'/>
	      <div dangerouslySetInnerHTML={{__html: item.body.html}}/>
	    </div>
	    <Link href="/portfolio" className="text-blue-500 hover:text-blue-700">
	      ← Back to Portfolio
	    </Link>
	  </div>;
	};

	export default Page;
Now time to import Notion Pages
Make sure you fill in your pages in Notion with a post you want to transfer to Next Js
Added a script to my package.json to allow me run it easier
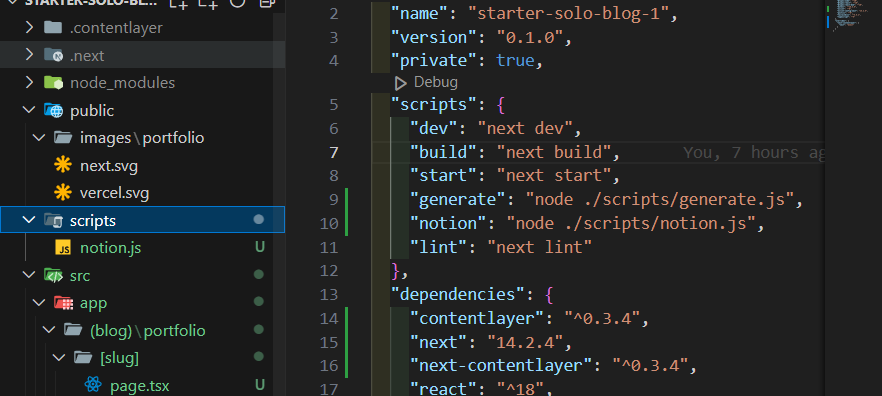
but you can run it manually in the terminal like so:
node ./scripts/notion.jsIf you received an error, check to make sure there are no empty table rows in your Notion database. You should see in the terminal:
	$ node ./scripts/notion.js
	Fetching data from Notion
	Fetching Portfolio data
	Got 2 results from Portfolio database
	checking ./src/content/portfolio
	checking imagePath ./public/images/portfolio/blog-post-1/
	checking imagePath ./public/images/portfolio/blog-post-2/
	Done
Now you should see a list of new markdown files in your portfolio page from your database.